Showing posts with label DIY FUN. Show all posts

November 8, 2013

Travel themed Baby Shower

Last weekend I helped my friend Beth throw a couple's baby shower for our amazingly cute mama-to-be, Jen and her hubby, Tim.

We started a secret Pinterest board, we googled, we did this all via email and never met up before the day so I think we should file this under: miracle it turned out as we envisioned.

Beth and Mike have the cutest new place in Philly and we decided we'd have a mid afternoon party at their place. J and I loaded boxes of things in the car, forgot the veggie tray at home, and whirled in a few hours before the party started.

Decorations were a mix of travel, babyish, and girly. I whipped up a diaper wreath. These are the easiest thing to make. I love them and they can be placed anywhere with flairs of theme. For this one, I wrapped a few strings of burlap-style ribbon, cut out a burlap plane and backed it on a small wooden one (found at AC Moore for a whopping 79 cents), and a wooden white H for baby Hewell.

 
Oh here's another fav thing I did. At 9pm on Friday night, I was longing for one more cool decoration to bring with me. I rifled through the garage. I found the biggest piece of wood laying on the ground with some dirt on it. It was placed into the ground at some point, I suppose. I just cut it off with a hand saw. Then I found some other lovely wood that were just right for the names of the cities. Fine, they are meant to be wedges for building but whatever. I sponged some white paint on them, paint markered the city names and googled the distance from Philly- where Jen and Tim reside. I love the outcome.

 
Airplane cupcakes- just whipped up some buttercream frosting . I love this recipe- always tastes better than store bought. Add the tiniest bit of red food coloring and bam: light pink cupcakes. I cut out the airplanes by hand.

 
Baby H onesie cookies! Made by beth. They were as delicious as they were cute.

 
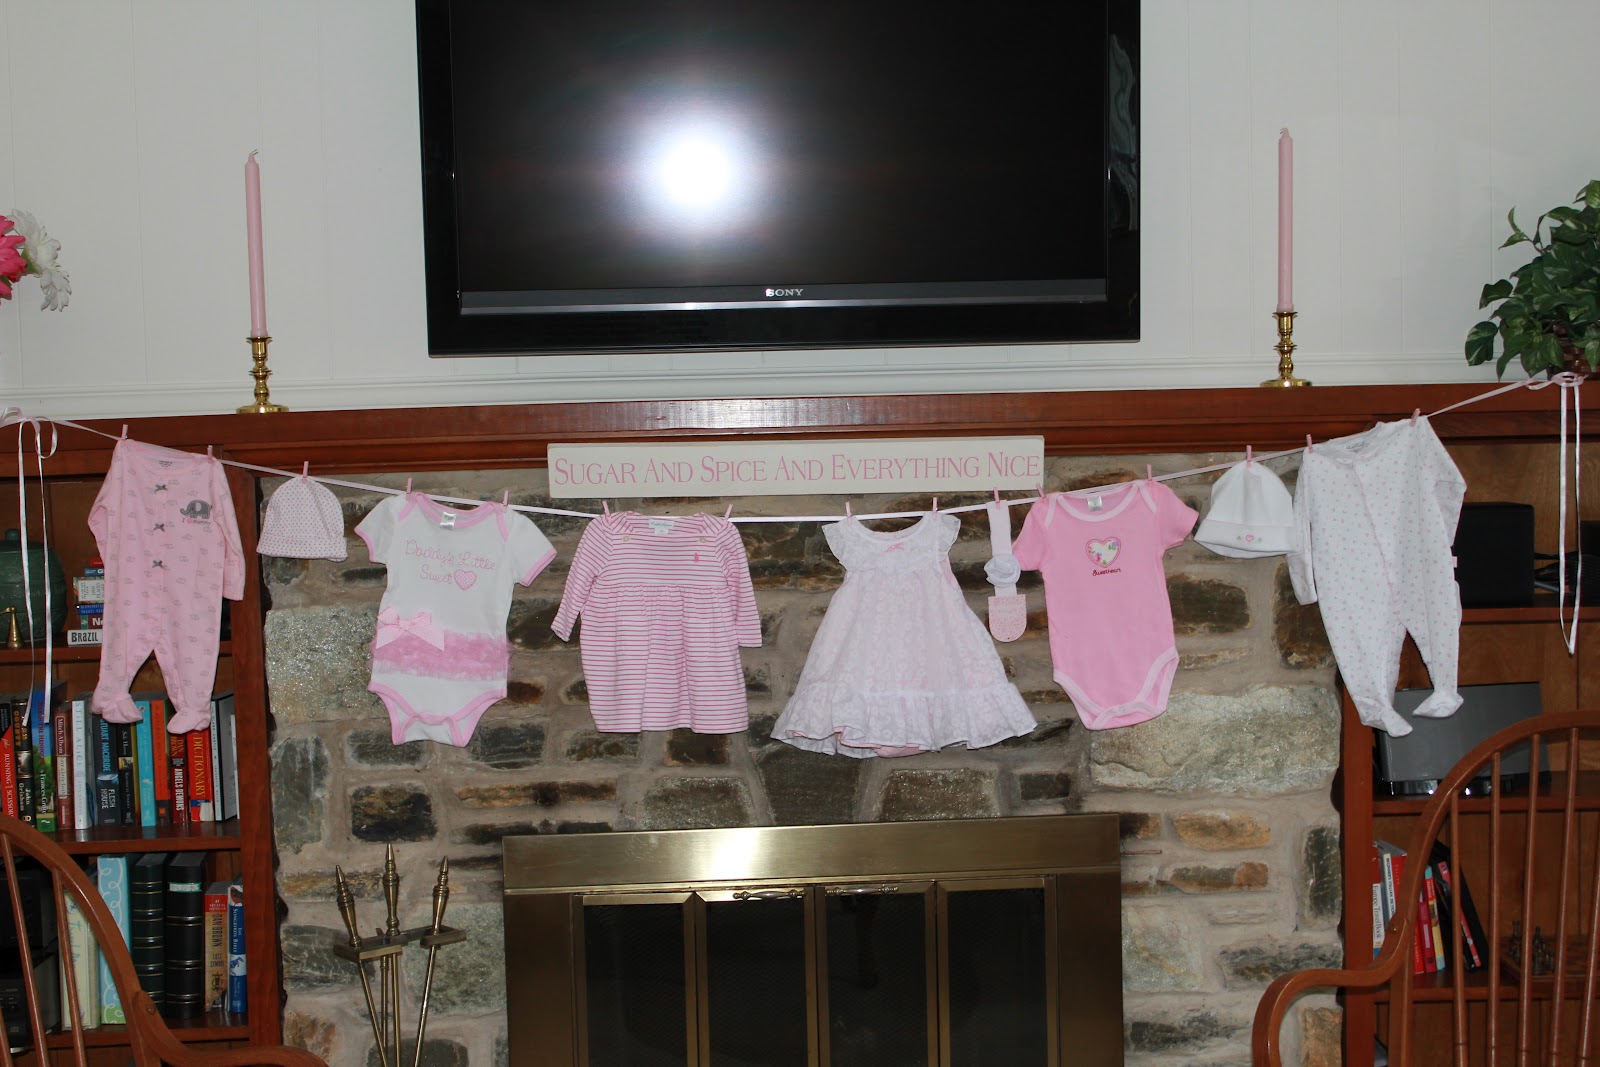
We draped some onesies up on the wall with a sign backed on map paper that said "Let the Adventure Begin". I was incredibly impressed with Beth's stringing of these letters. Such a cute idea!


The food table housed a lot of our décor. A baby sign made out of maps, the city sign, a vintage globe I found on amazon (cheap!) that I can't wait to find a place for in our own house when this is finished. We also added a little lantern for flair. The London map is just one of their normal house decorations- but fit in perfectly. For food, Beth did the most amazing job.  There were sandwich wheels (preggo friendly of course!), cheese, crackers, delicious prosciutto, soft pretzels with cheese and cinnamon sugar dips, and then crockpot meatballs and rolls. Everything was amazing. We also threw together an Apple Cider Sangria. There were Italian sodas for the pregnant lovelies.  Oh, by the way, these chevron table clothes were actually just clothe I had from Joann Fabrics- I used no sew tape to hem them to fit the tables.


And then there was the gorgeous mama to be! Jen hands down has the BEST pregnant wardrobe of anyone I've ever met. I'm impressed every single time I see her. I think I need to shop in her closet when I am pregnant with another kiddo.
 
 
With the hostess.


Happy Baby shower, Jen. We cannot WAIT to meet little Miss Hewell. XOXO.


signaturemeghan

October 7, 2013

The Blog Overhaul: New Template, New {DIY!} Header, Signature, and some other fun....

{Preface: All of these update & semi tutorials are for Windows, not mac computers}

A little while back, I decided my blog needed a makeover. It was sort of too much someone else's, not enough mine, and I needed a reason to start writing about life again. An aesthetic overhaul was the way to go. So what did I do?
 
Well first of all, my old background had to go.
 
Enter Star Sunflower Studio. I totally found this site via googling; I wanted something simple but also me. I really loved some of their backgrounds. So I bit the bullet- for the first time I decided to pay for a good background. I knew I could figure out the rest on my own, but this was easy peasy for a starting ground. Oh and also, amazing customer service. They sent me links and directions for installing my twitter and pinterest
 
They are also on etsy! You can search for them (sunstarlowerstudio) and see what they have for you, too.
 
Okay so I had my background. And I knew I wanted to create my own header with photos, so I decided that I would google and figure it out on my own. I knew that Picasa was the way to go but really had no clue how to start. I searched many blogs and found Blissfully Domestic to be the most helpful. So a big thanks to her! I literally just followed her steps. Except, I went a few steps further. First of all, you can get digital scrapbook paper. Who knew? I decided that the third block of my header would be a digital scrapbook jpeg. I just found one I liked, and saved it. Then added it right into my picasa collage.


You just save your picasa collage as a jpeg. When you go into blogger, you go to layout, Header, and then just add your image.


Easy as that. Okay fine, it took me forever to really line up the photos. And if you want a full tutorial, for sure head on over to Blissfully Domestic as linked above. That was my saving grace.

A few other things: I am obsessed with fonts. I hate normal fonts for fun things like a blog header, or if I am printing invitations, or writing letters. So I religiously use DaFont to find new fun looks for my words. For the header, I wanted to have something different. I downloaded a few  new fonts and mixed and matched with old fonts. You can add this right in when making your collage. Once you choose a font, just download it and save it wherever you want.

 
 I usually save to my desktop just because it's easy to get to. Once it shows up on your desktop, right click and hit "extract files". Double click on the new (same named) folder and then double click on the font listed inside. You will see this:


Okay sort of you will see this. Your screen may not have an excel sheet about your friend's baby shower on the bottom. But you get the point. Hit install, give it a minute, and VOILA! It will land in your fonts for you to use from here on out. Easy right? It's one of my fave things to do in terms of spicing things up.

I used my new fonts for my signature too. I just wrote my name, then found some hearts in a font I loved, and there we have it. I saved it as a jpeg via word. Then I uploaded it to picasa. Then simply steal the code they used to create your image (it's not stealing like illegal stealing).

Go to settings on blogger, then Posts and Comments, and then find the box that says post template.  It will look like this:

Copy and paste your link in the Post Template area. Hit save and it should show up on all of your posts to come. I don't know how to go back and make other posts have your signature, but this part is easy and even I could do it during naps/after baby bed time.

My friend Kelly suggested that I post this to help other non-full time bloggers who are just figuring this out day to day, so here it is. Are there other random blog things you want to know? Things that I didn't make clear that I can help with?

Happy blog re-designing!

 
signaturemeghan

December 13, 2012

We need a little christmas....

Christmas season is one of my favorite times. There's nothing like walking into my parents house and seeing the direct line to their freshly cut specifically chosen real Christmas tree, complete this year with only bells and felt ornaments on the bottom so the babies can touch them.

Of course, during our trip to visit my parents this weekend/beginning of this week while the hubs traveled, much time was spent picking pine needles off her hands. That's the thing about real trees- they shed. I am not fast enough or observant enough to do that 24.7.

So we decided that for this year, while S is on the move for REAL with her crawling, standing, cruising, we needed a plan. We put up our 4 foot tree in our bay window- and instead of letting her pull it down (which I am 99.9% would have happened- this baby is STRONG), we just hold her up to it and sit with her to see the ornaments and the lights. Good solution. We also nixed most of the low laying decor this year for the hanging and top of shelving items.

Our house is just so warm at Christmas. Even with a faux tree, the yankee candle white christmas smell fills the house and it feels perfect. S is mesmerized by it all and that's really the best part.  Here's a look at what we threw together this year.


Outside I went with simple. Red ornament wreath, greens, and gold bows.


Oh yes, the burlap-ish ribbon is my fav this year. Gold and greens are our "general theme" but there are reds and other Christmasy things included. These wreathes were $3 at AC Moore. Sold.

Note to self: put on the lights before taking photos next year! Womp Womp....


Speaking of burlap and twine, and other such things... these are our presents this year. A spin off of a pinterest project I saw... but all the presents have different wrapping paper, tied with some string I had in my craft supplies, and a big initial tag. I sort of love them.  Sienna has unwrapped (tore pieces of paper and threw them in the air) any gift I leave on the ground, so these are all placed up high as well now.


In sticking with our theme, here is our card holder this year. I had some of these mini clothes pins in the craft box, so I put them to use. I actually found them in the same bag as the paper for the gift tags. I love them! Props to those first few Christmas cards- we got them in early December. This is actually totally full now and another one is going to be placed on the other side of the doorway.


This is S' handprint at 9 months old. I mean, come on... Don't you just melt? But here's my advice for these things- don't do it yourself. Don't let your husband do it by himself. It seems simple but is a joint effort. S kept digging her fingers into this, creating more of a "I am destroying the city of ornament town" look instead of a cute first Christmas handprint. Thanks to my fantastic girlfriends Jen & Beth- this was a shower gift, you two were so on top of it!

So there we have it, Christmas simplicity in the Walls house this year.
Can't wait to see Sienna's face light up Christmas morning when tearing up wrapping paper and playing with boxes is not only allowed but enouraged.

Merry Merry!
xoxo

February 5, 2012

Baby Showers Galore


This weekend was my sister in law's shower. She makes a very cute pregnant woman,and it was a his and hers shower- even better. I told my own little baby girl to hang in there until after the shower to make her appearance, and she did thankfully. Still pregnant and so glad I got to celebrate my soon to be niece! Wanted to share a few photos of the decorations and the dessert table... mmm. My mom sure hosts a good shower ... and this will probably be the last big one at our house! Weddings, check! First babies (or at least the showers), check!

The diaper wreath hanging behind the chairs for mommy + daddy to be.  Pink marshmallows.

 Dessert table with cute sign above it- missing the pink and white chocolate covered strawberries.

 Favors, framed invitation, and upside down invitation with baby booties.

 Etsy framed print, "wishes for baby" and baby photos on the bay window, heart strings across. Love.

Switched out the christmas theme "the stockings were hung" but kept the baby clothesline going.

Opening tons of gifts - Be Prepared- the dad's guide- Got this for Jamie and for my brother. Great book, I actually recommend it to any dad's to be. Gives the realistic picture of what happens...

Look at these two proud great-grandmas to be! Enjoying the incredible cupcakes.

37 weeks and no longer enjoying photos, but good to remember these times.

We drove back to our house last night; juuuust in case and because sleeping in my own bed at this point is more comfy. But we had the best time laughing and celebrating with everyone.

Congrats Sam + Matt! We can't wait to meet baby!

January 31, 2012

DIY baby shower decor: diaper wreath!


I love that my sister in law has shared pregancy time with me and this coming weekend is her shower! So I took to pinterest and other interweb and found some projects I liked. I found a "diaper wreath" I decided on instead of the diaper cakes- they are cute but definitely always a staple. I wanted to switch it up a bit! I pinned that bad boy, and then realized I pinned something you can buy. It wasn't a crafty little tutorial. I was not down with that. They were way too expensive for my liking, and I wanted to make it i different colors.

I bought my supplies: a wreath base, ribbon, and a big wooden letter T (for their last name, baby doesn't have a first name just yet!). I had TONS of diapers from my showers, and decided I'd give them some size 2 since their baby will need them.

The wooden T needed a coat of paint. I got two little bottles because they were 2/$1. The other is white, just in case baby's room needs any quick fixes or cute painting jobs.

Yes, that is a chocolate cupcake wrapper in the background. Don't judge. I am pregnant and doing projects on a weeknight.

After I painted the T I let it sit to dry for awhile and just started to figure out my plan. I had 6 rolls of ribbon and this wreath thing....Oh and a whole box of diapers.


The ribbon was clearance at AC Moore, so I got all 6 rolls for about $8. Not bad considering I have an entire Ikea storage box labeled "ribbon and paper" that I like to keep for projects.

I really had no tutorial, but I had a picture. So I decided my approach would just be to wrap the diapers around the wreath (I left it wrapped in plastic as not to get hay pieces in the diapers), and then tie it with alternating colors of ribbon. The first one took a few minutes, but I was pleased when it came out like this:


Then I just cut pieces of ribbon to the right length (guestimated) and laid them out so I wouldn't have to stop every two seconds to cut more. After a few more, I was getting excited this might work!

Then I just flew through it.... it took a total of a half hour to get all of these tied on. Super fast and easy, and super cute. I even was able to do the little ribbon extra part in that time.
Good wreath modeling, J. Try to smile next time. This was before I finished the ribbon part, it was too sparse for my liking so I added some more.

There we go! MUCH better in my opinion. I then tied the T on with a light pink ribbon right into the larger ribbon group.

And then there was the final product. This time I had J model it again, but not against his own face (I love that face, but he feels sick tonight and is sleepy and there are not many smiles).


This second picture is a bit blurry, but the colors are more true to real life. I sort of love this thing andd think it would be cute as a "new baby" gift too for new parents coming home to their house - hang it on their front door!

I have one other cute project up my sleeve for this shower, so stay tuned!
Related Posts Plugin for WordPress, Blogger...